Noma
NomaCreate reusable contracts
Prepare a contract your team can use for future jobs.
Create a reusable contract
Open a new contract
Open Signatures. Select Create new → Reusable contract.
Add the name and PDFs
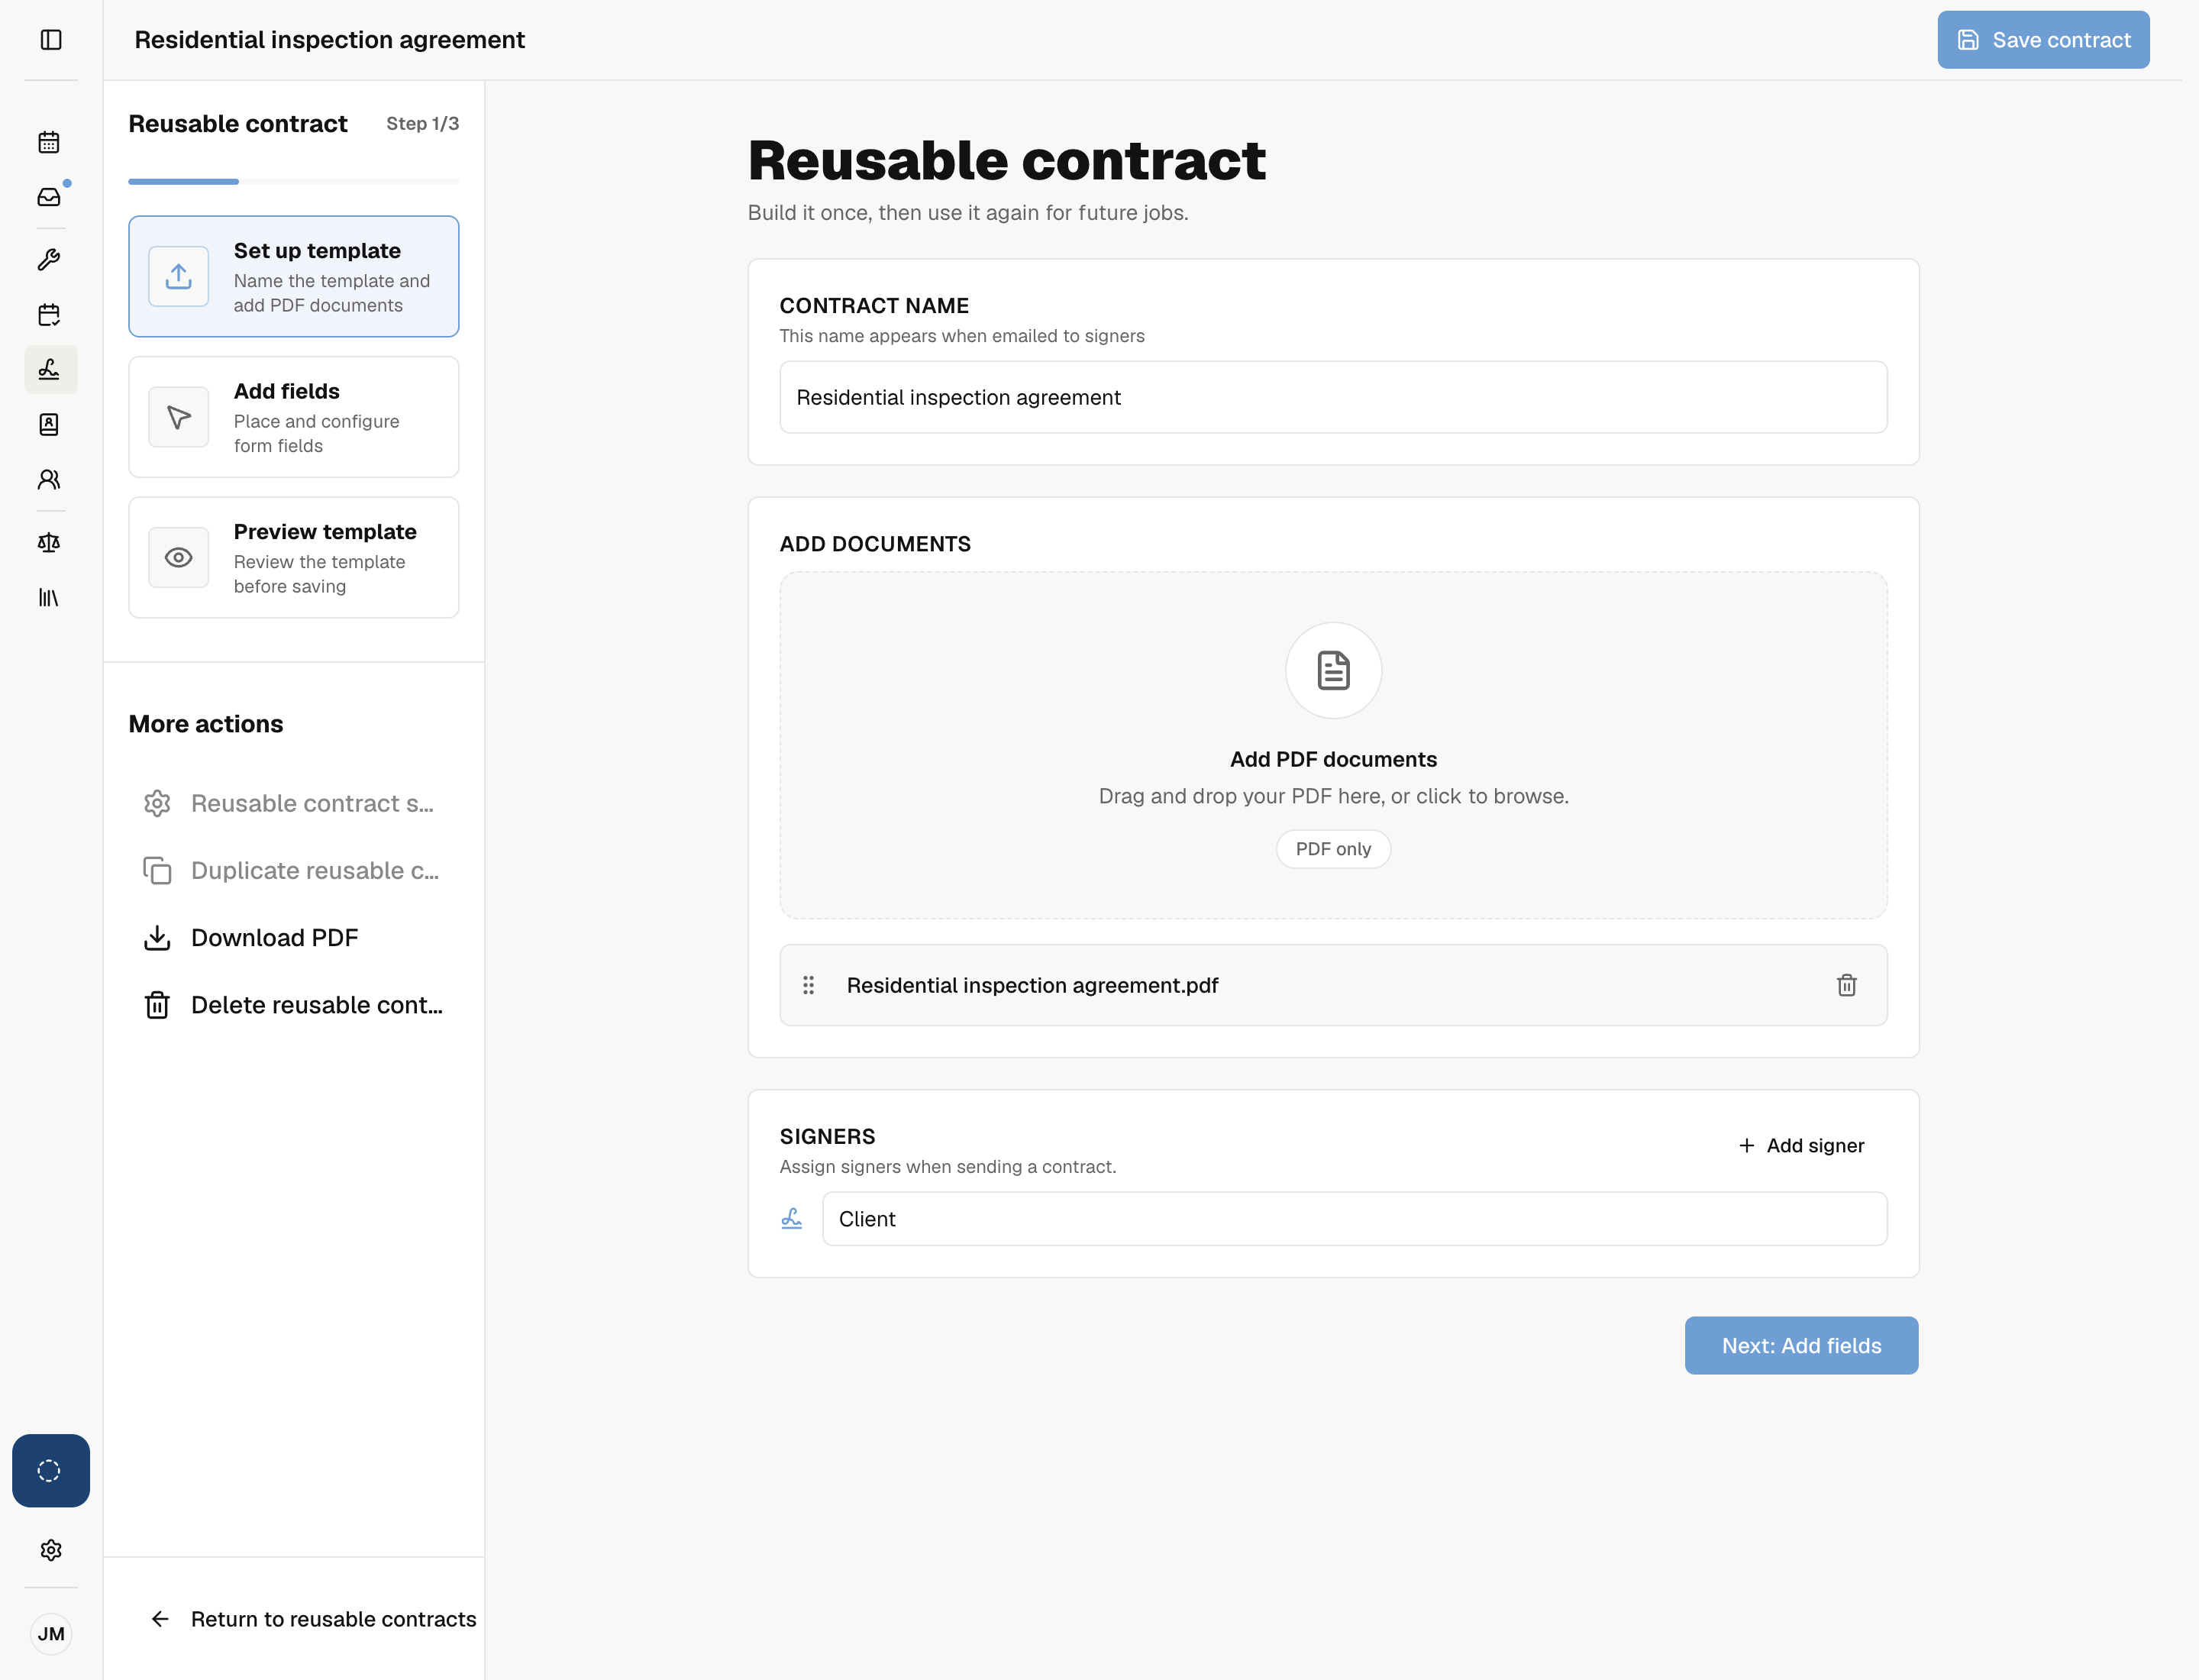
In Set up template, enter the Contract name and add your PDF documents.
You can rename, reorder, or remove files. Their order becomes the page order of the contract.
Add signer roles
Name each role, such as Client or Co-owner. Add up to six signers. Choose the actual people when sending a copy.
Turn on Enable signing order to have signers act in sequence. Leave it off to let everyone sign at once. See Choose recipients.
Place the fields
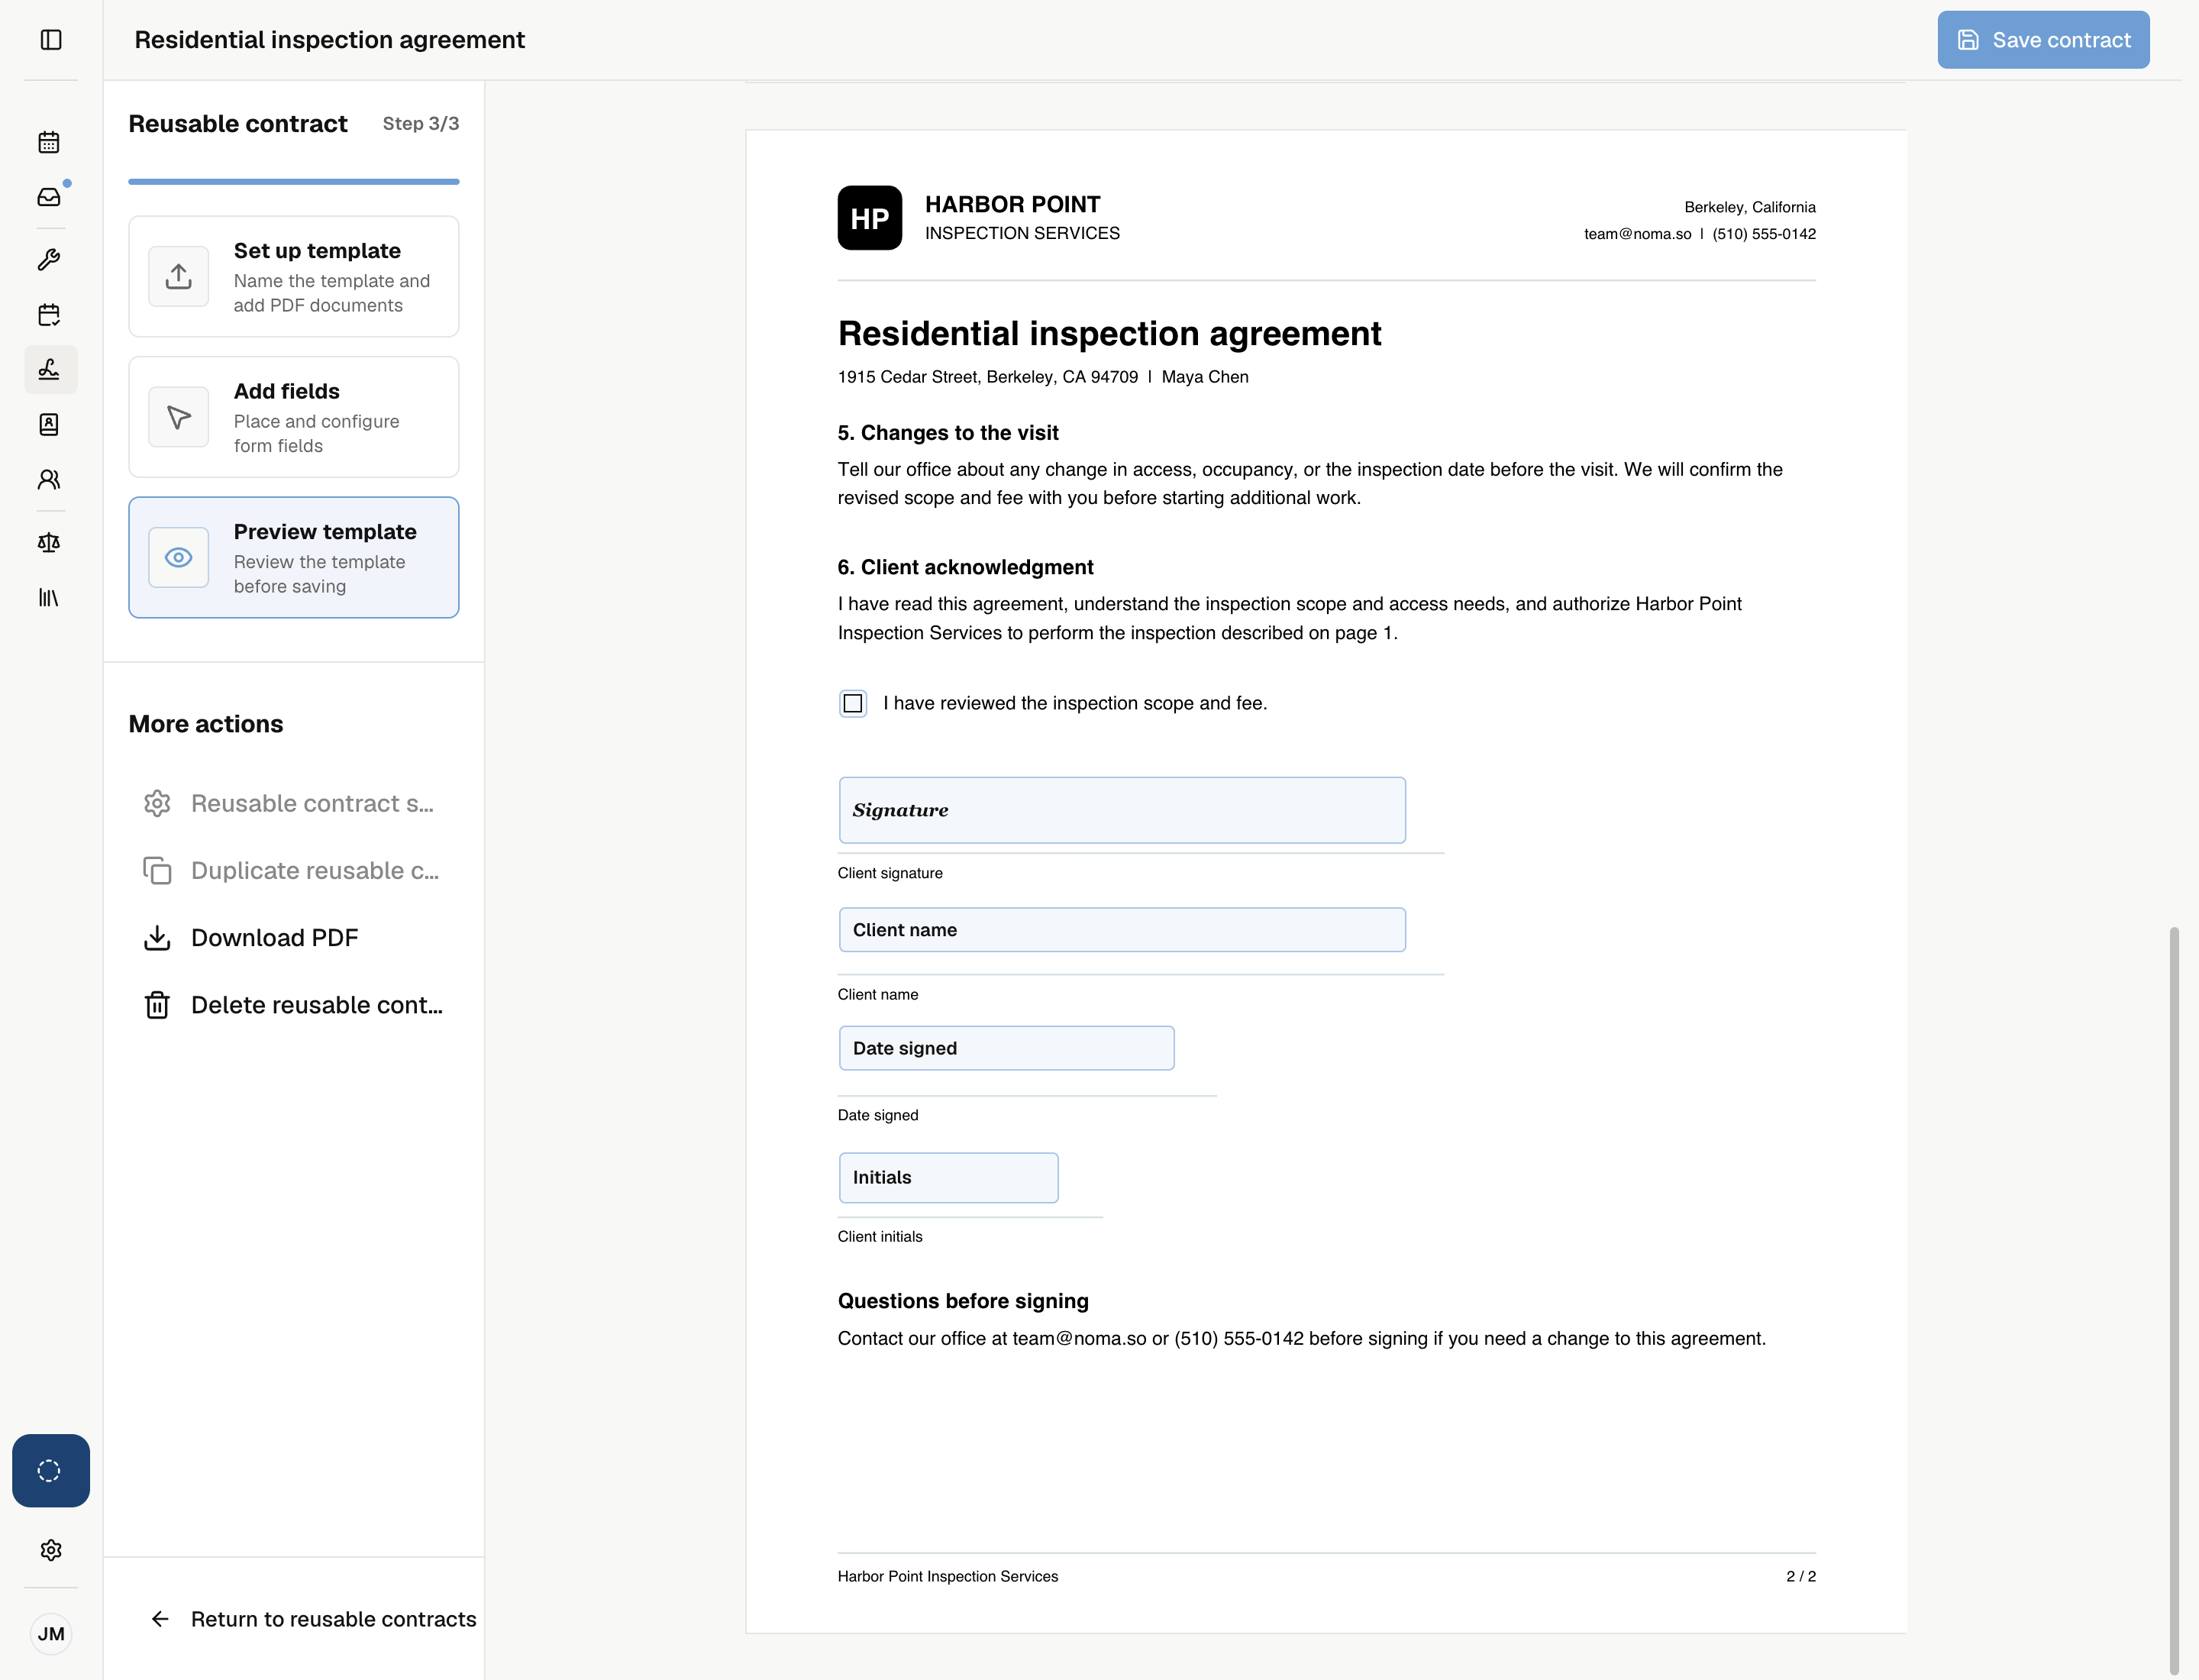
Open Add fields. Place at least one required Signature field for every signer.
Add initials, text, checkboxes, or document details where needed. See Add contract fields.
Preview and save
Open Preview template. Check every page, field, and signer role, then select Save contract.
The contract appears under Reusable contracts and is ready to use for a job.
Edit a saved contract
Open Reusable contracts and select its name. Make your changes, preview the pages, and select Save contract.
Changes affect future copies. Existing drafts and sent requests keep their own settings.
Replacing the PDF removes its fields
After replacing a document, place its fields again and check every signer before saving.
Download or delete
Use Download PDF in the editor to download the reusable document. For a signed copy, open the completed request.
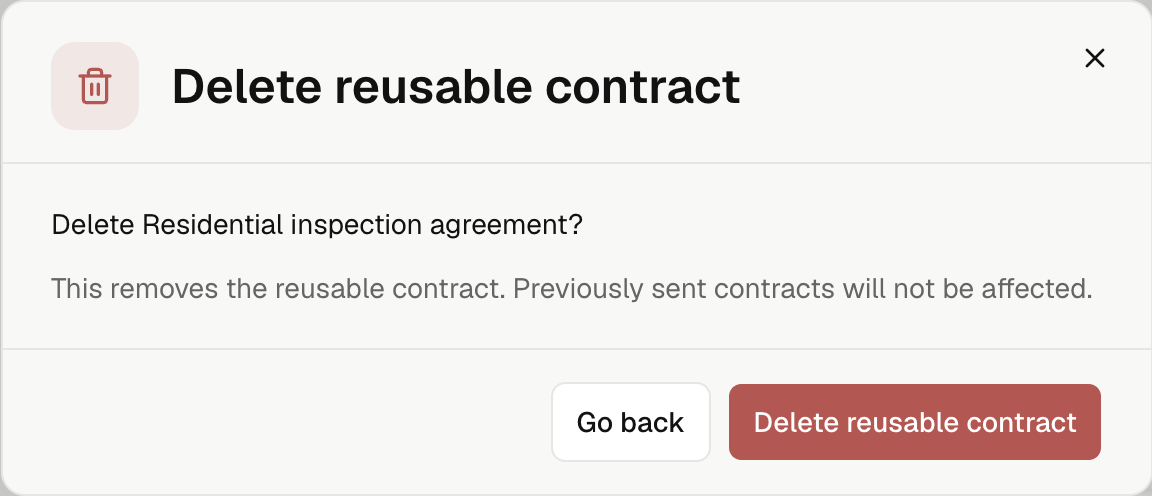
To remove a reusable contract, select Delete reusable contract, check the name, and confirm. This removes it from future choices; it does not void sent requests.